Creating a Category
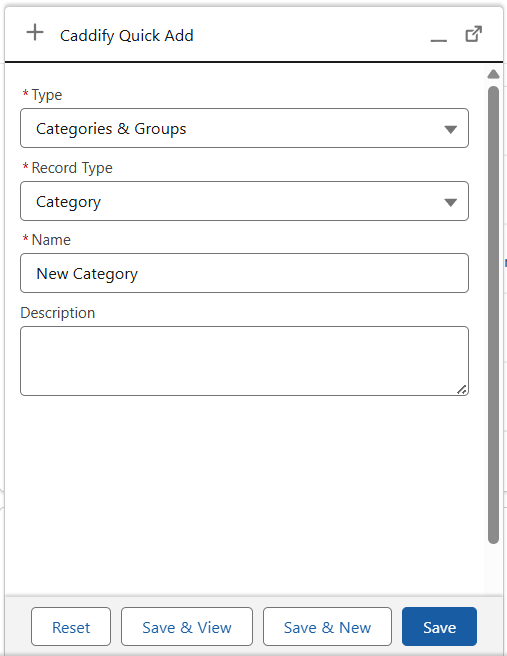
Categories are high-level organisational tools for your Data. They can also contain as many Groups as required, to sub-divide and better organise your data. To create one, use the Quick Add Menu, and select a new Category. Save & View this once you have given it an appropriate name.
Supported Data Types
Your new Category will be blank when created, and the record should look similar to the following image. On the right hand side, the ‘Content Record Types Activation’ displays which Data Types are supported by this Category.
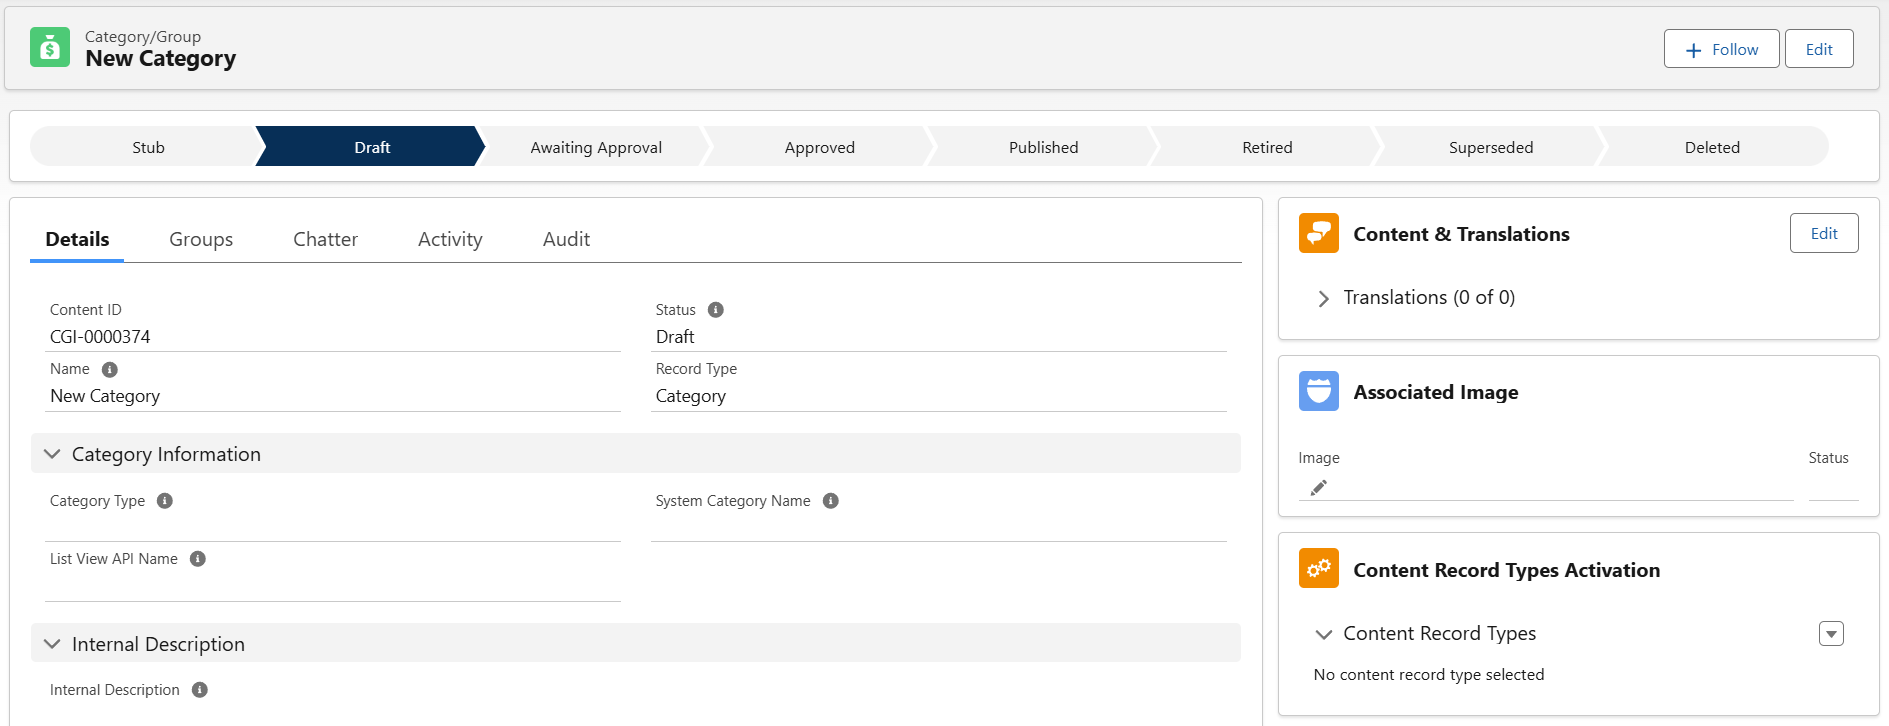
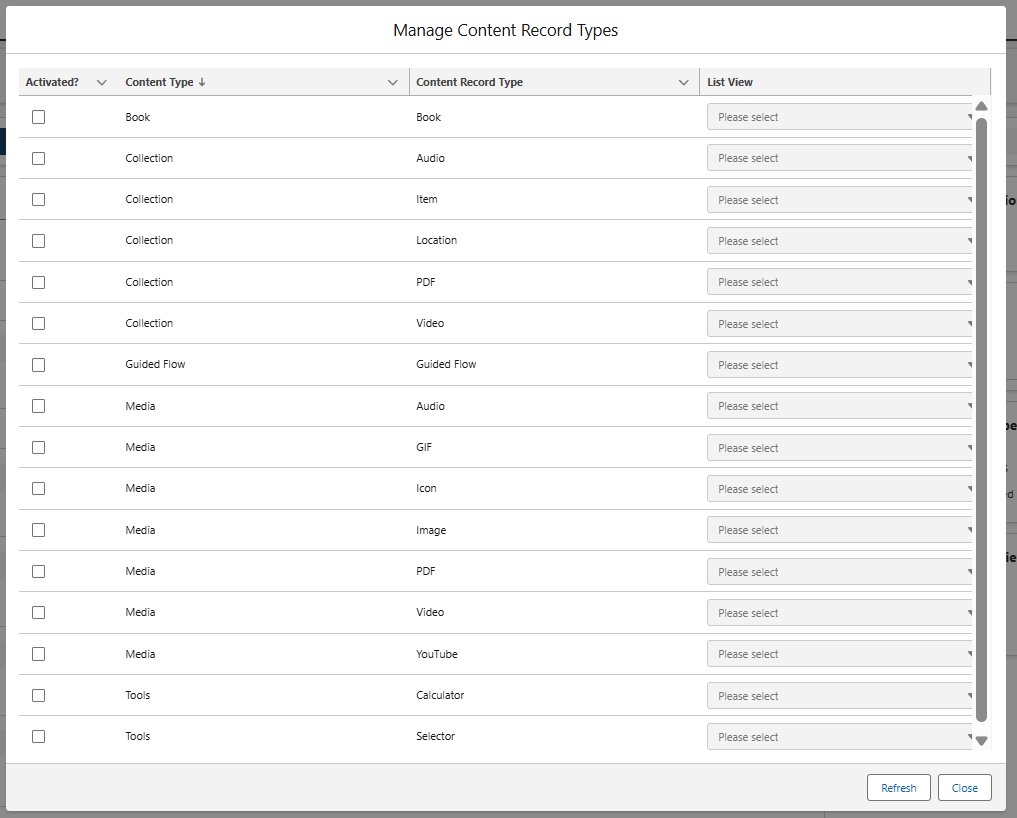
Each Category has to be activated for the type of Data which it will contain. To add Data Types, open the drop down menu in the Content Record Types Activation box, and hit ‘Manage’. The menu you see below contains all possible elements of Data which can be uploaded into the Caddify system. Tick whichever are required for this Category, and close this window.
Publishing your Category
Once you have finished the setup, always make sure you set the status to Published to make it available to the app.
