In this article
Creating a List Screen
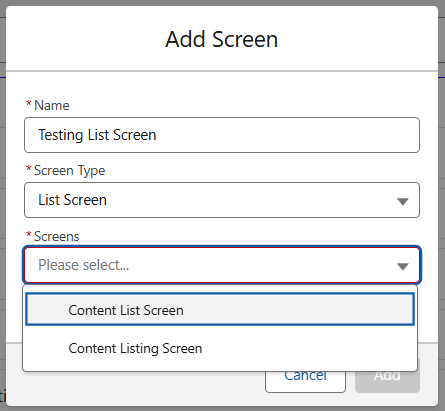
When creating a new List Screen, first a decision must be made on using a List or Listing Screen. A List Screen allows for further navigation, in which selecting a List item will transition to another screen and surface more information. A Listing Screen is a terminus screen, which shows the items and required information with no navigation possible.
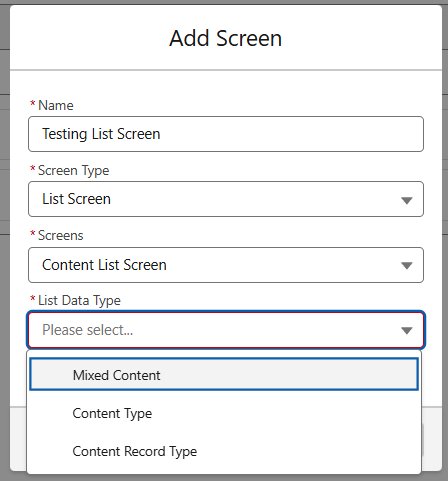
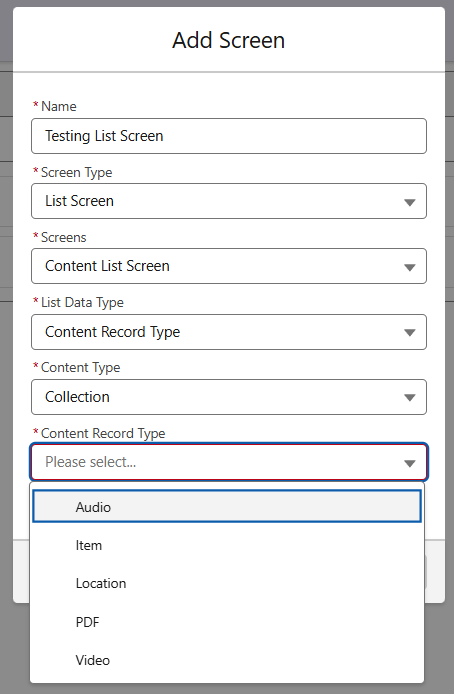
The next choice to make is the Content Type. Mixed Content allows for a List Screen to display various types of content collected in one list, this may be all data related to a certain product; such as a Book, Videos, and Collections relating to its functionality.
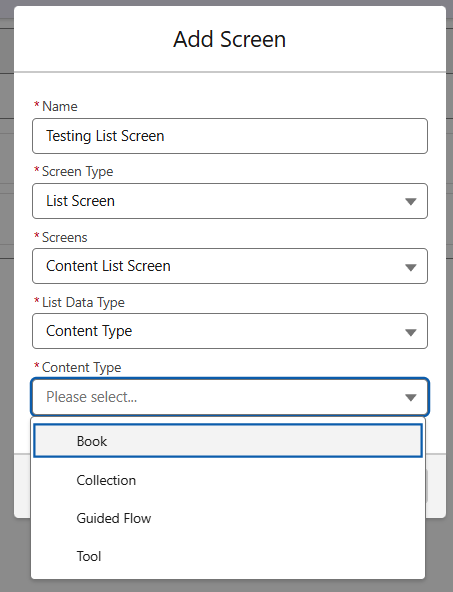
Content Type is a more refined list, supporting a specific type of Data. As seen below, this can be Books, Collections, Guided Flows, or Tools.
The last option is Content Record Type, which allows for more restriction in data types displayed. For example, a Category may contain various different types of records, such as Books, Collection Items and Locations relevant to a product type, while this screen may be required to only display the Collection Items representing the products.
Configuring the Data
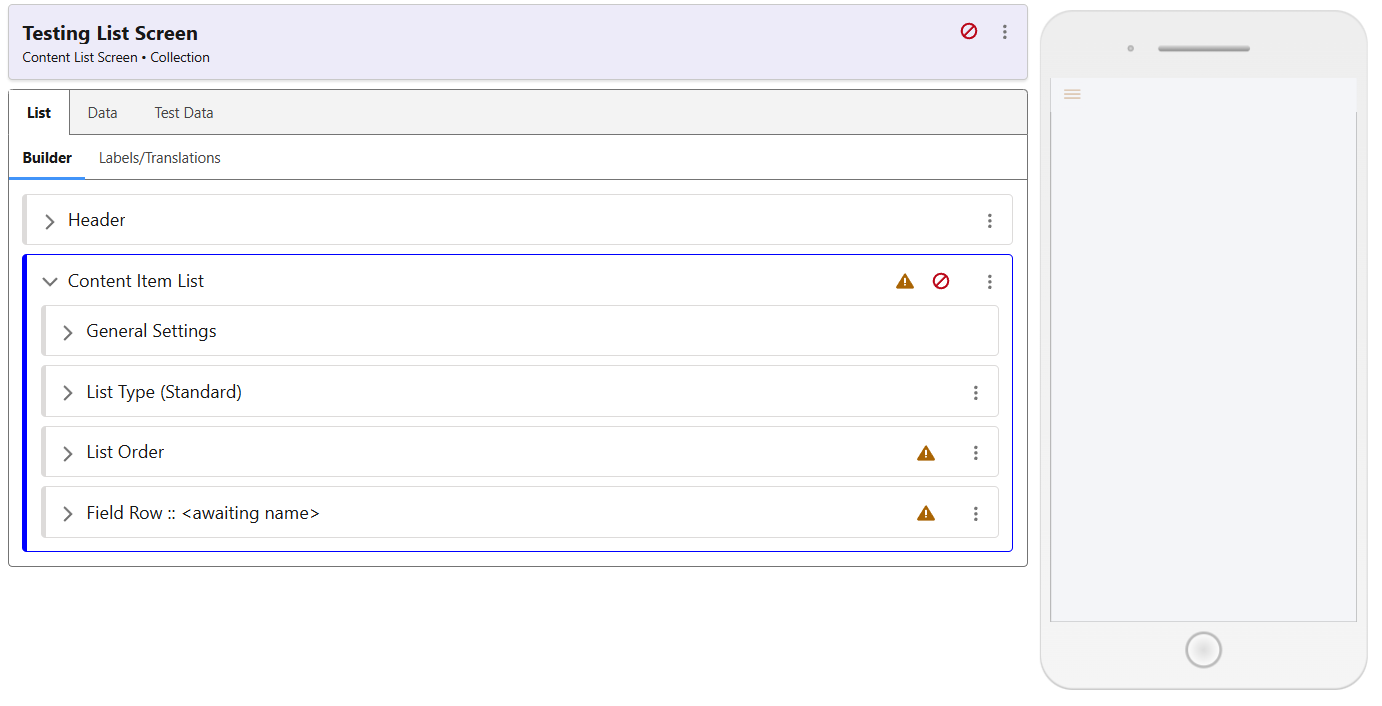
Once created, the List Screen will be blank, as seen below.
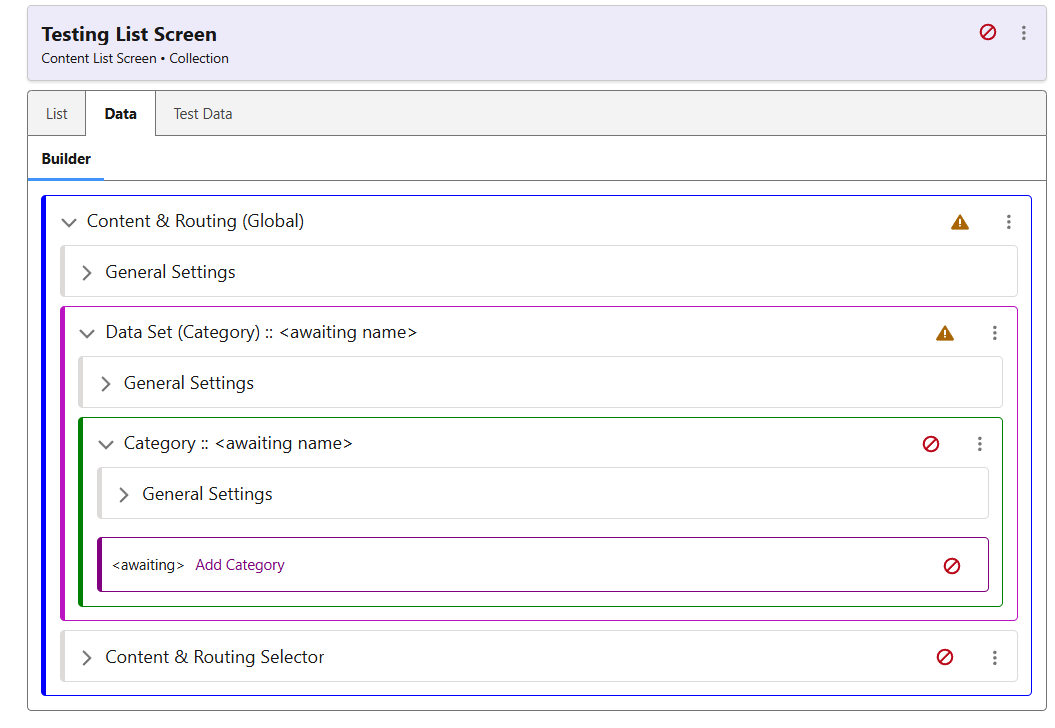
 First, you should go to the ‘Data’ tab, and use the ‘Add Category’ button you can see below to choose a category that will be used for this screen. Once this has been selected and saved, then open the ‘Test Data’ tab, and choose this Category as the test data. There will only be one option available for now under the Test Data.
Now, we can return to configuring the screen itself.
Content & Routing
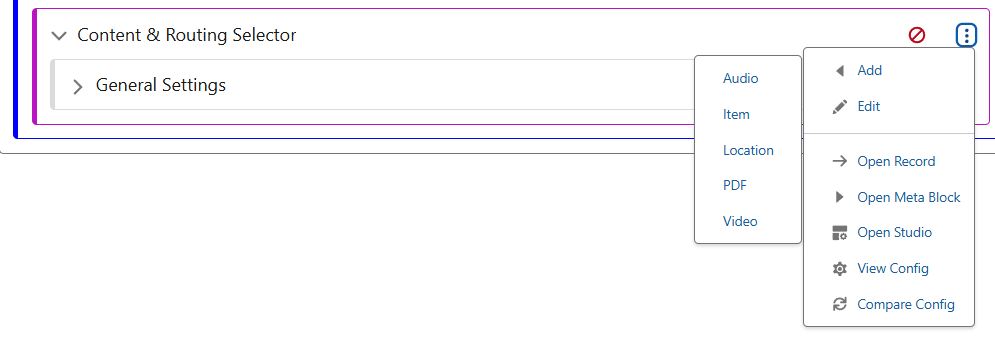
Use the ‘Add’ to select the relevant type of Collection Item.
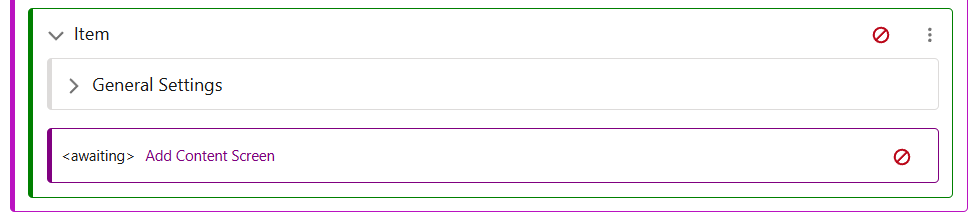
Once added, use the Add Content Screen button to select which screen list items will direct to.