In this article
Collection Item Screen
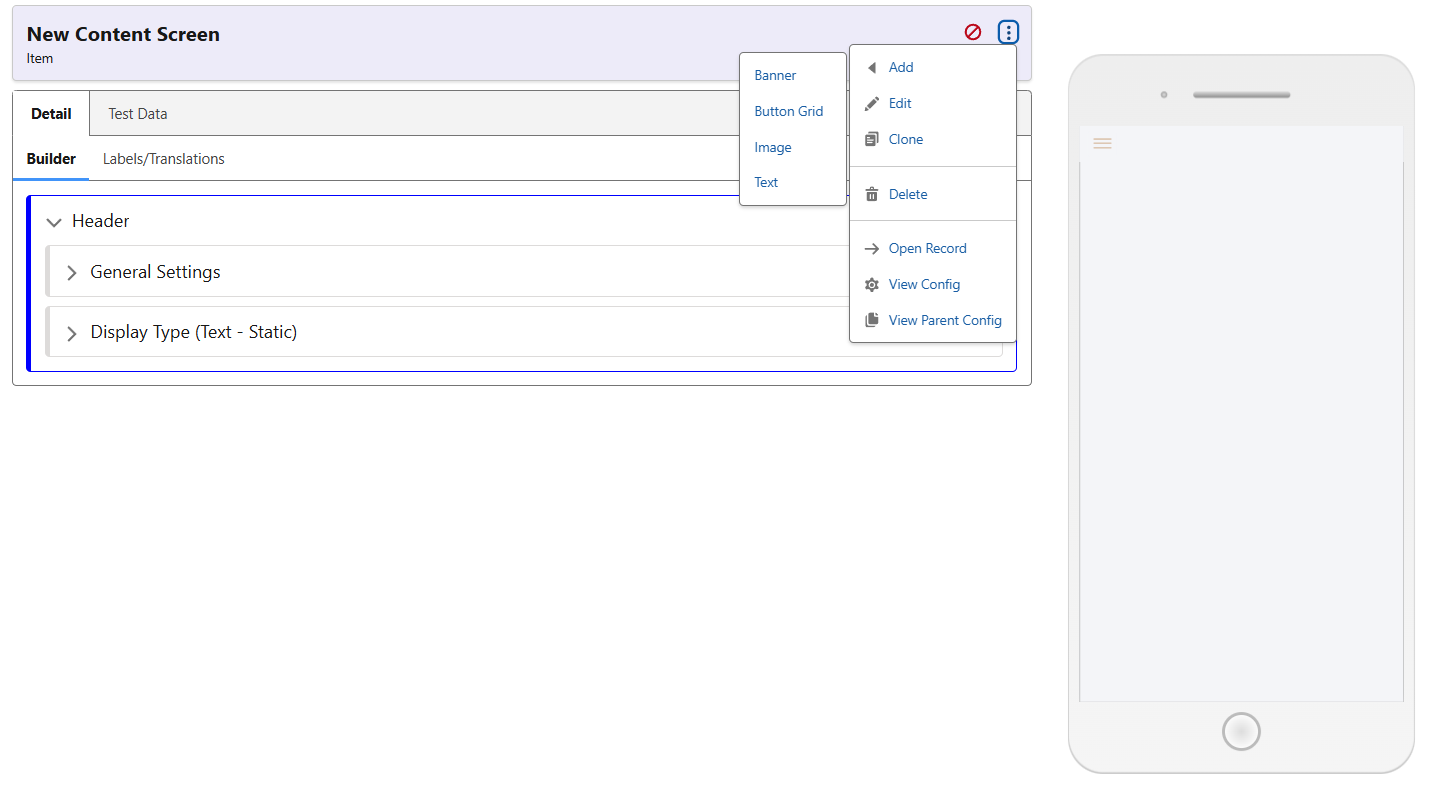
The Content Screen will be blank once created. The ‘Add’ menu contains the following possible additions to this screen alongside the Collection Item displayed.
An example of a configured screen is the following screenshot. Taken from our Demo app, it uses the associated image of the Collection Item, as well as pulling through its Name & Description. The Button Grid links to relevant pieces of data connected to this record, such as the Service Providers which cover this galactic region, and the Company Resources available for Mining in this location.
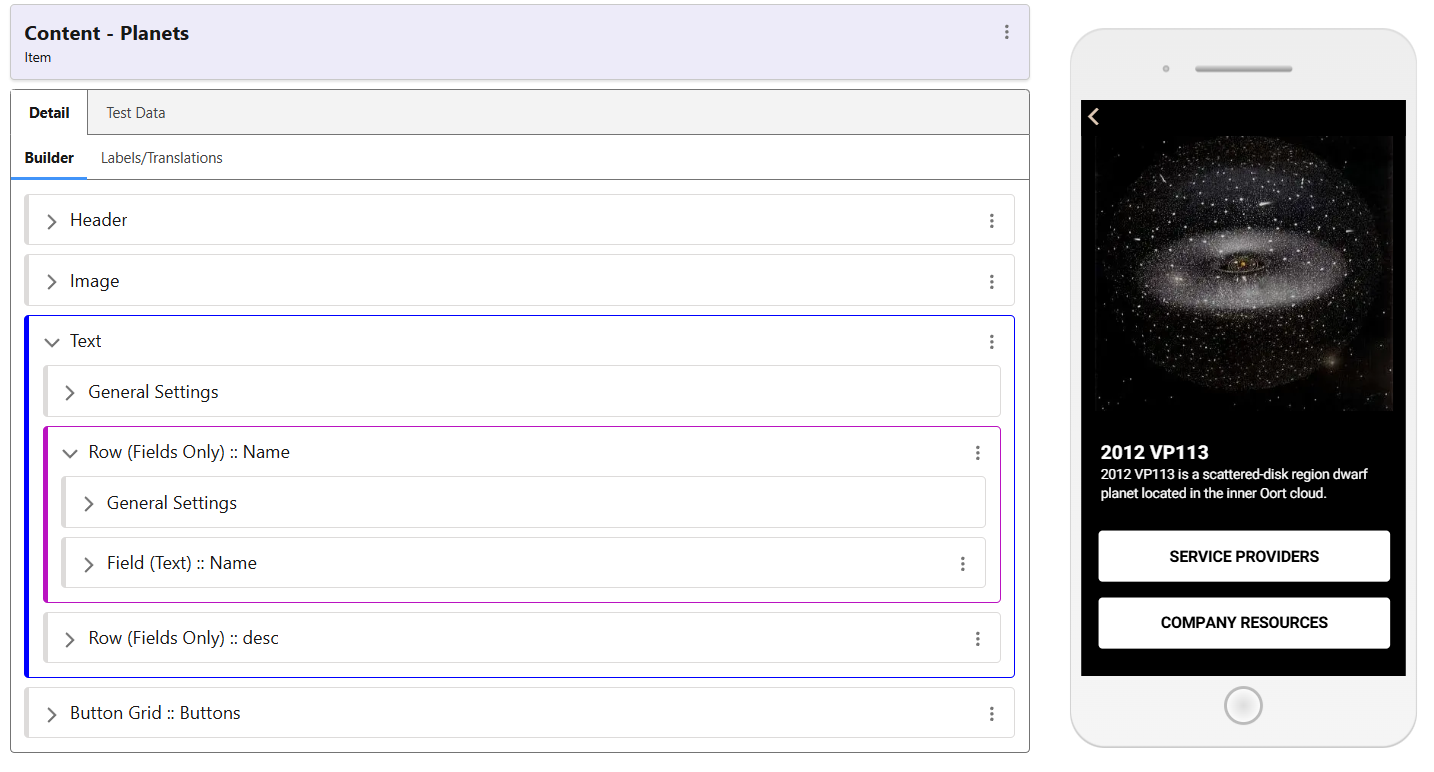
As these screens rely on being surfaced via a Content Item, its image and field is dependent on the record, rather than being static.
Test Data
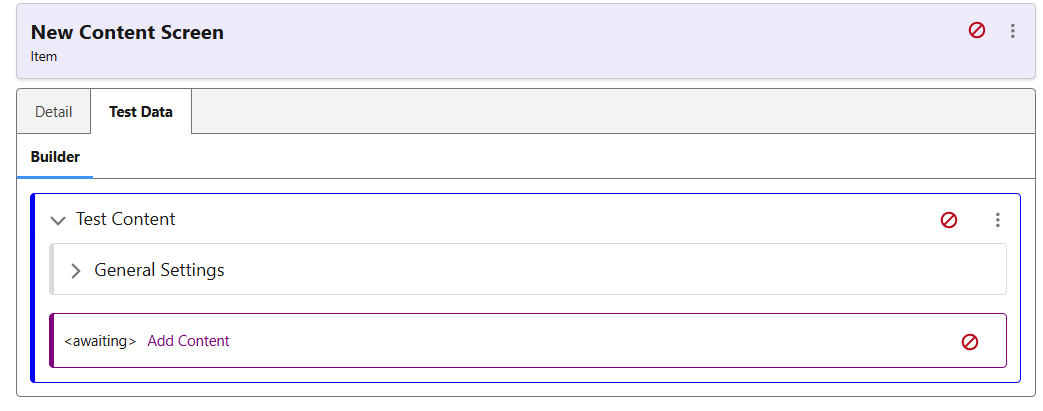
The Test Data allows the screen to be worked on while visualising the changes made by using a Collection Item as a reference. If the Name or Description is added to the Screen, the data displayed will be from the Test Content selected.
Adding an Image
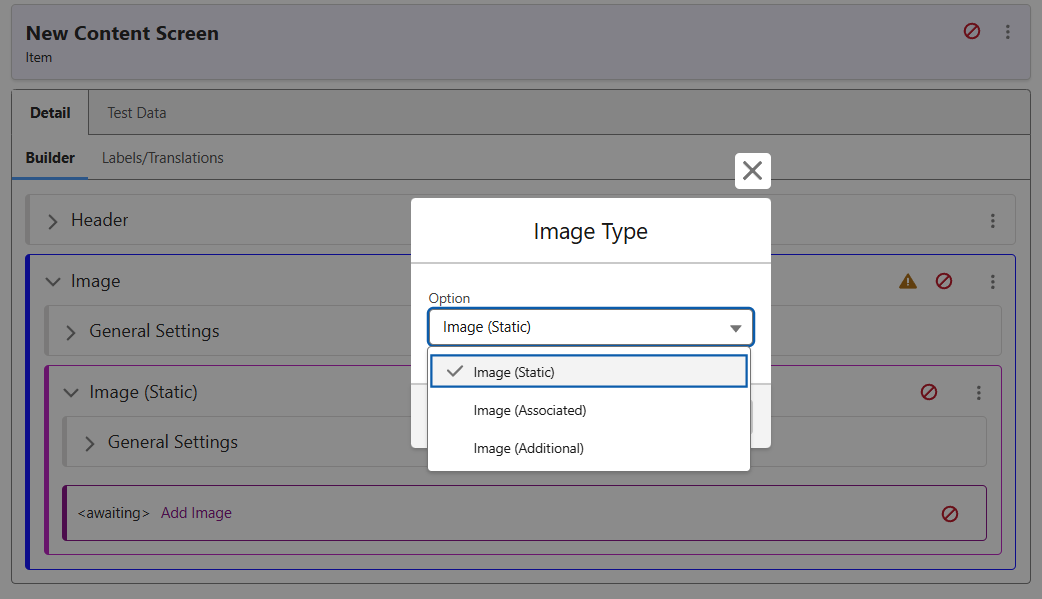
For flexibility, Static, Associated, and Additional Images can all be displayed. While some cases may require associated, dynamic images pulled through from the record, there are many instances in which Items may have no images against them. After adding an Image, swap it to the type required. If static, use the media explorer to select this image.
After changing this to Image (Associated), the screen now looks like the following: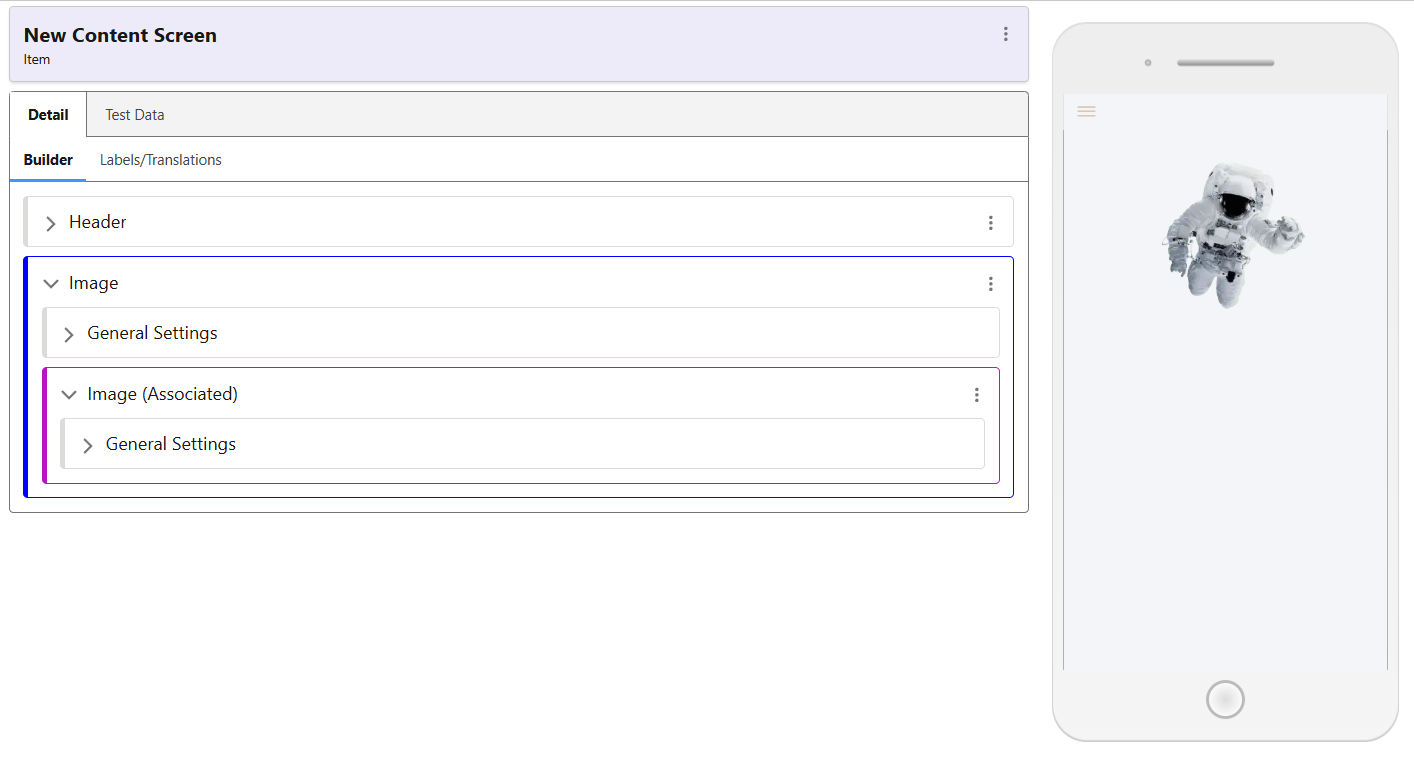
Adding Fields
Similarly to adding an image, it is possible to use static information, or to pull through from the record. Use the ‘Add’ menu to select Text. By default it will be created as ‘Mixed’.
This Row can be used to add both Static, user-created Text blocks as well as using Field Only in combination.
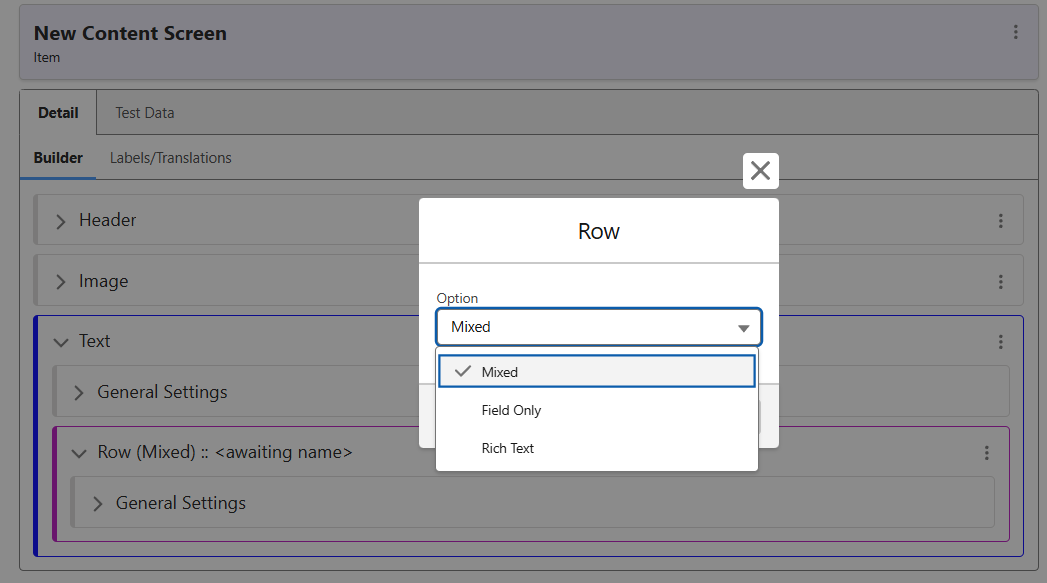
As seen below, a Mixed Row can contain any of the following types. Once the Text has been added, it can be swapped to the options seen here.
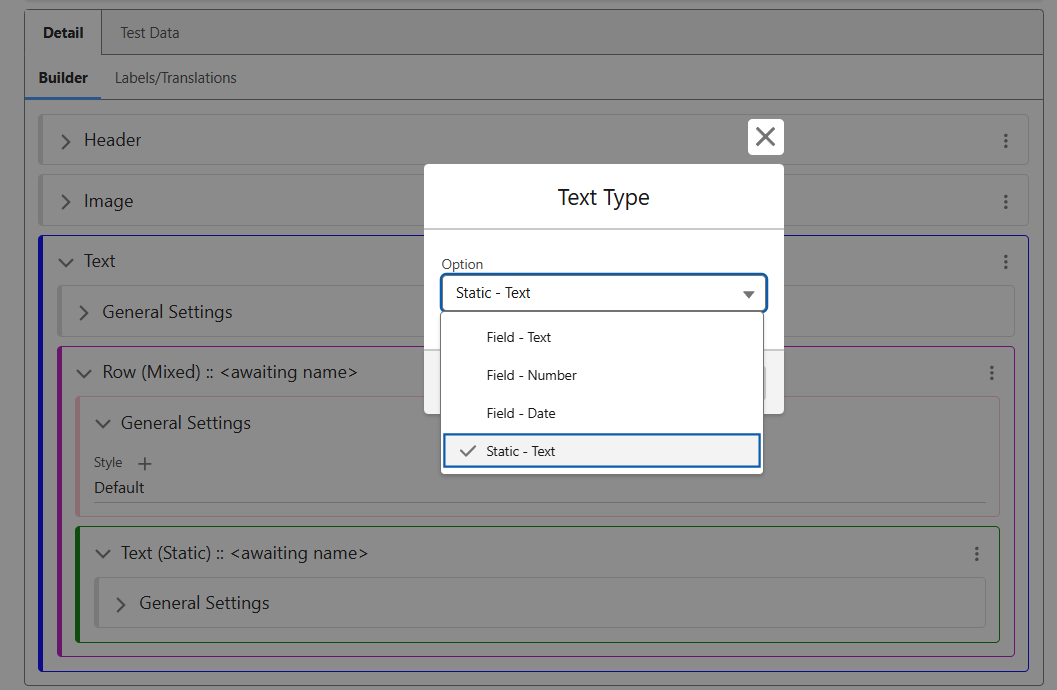
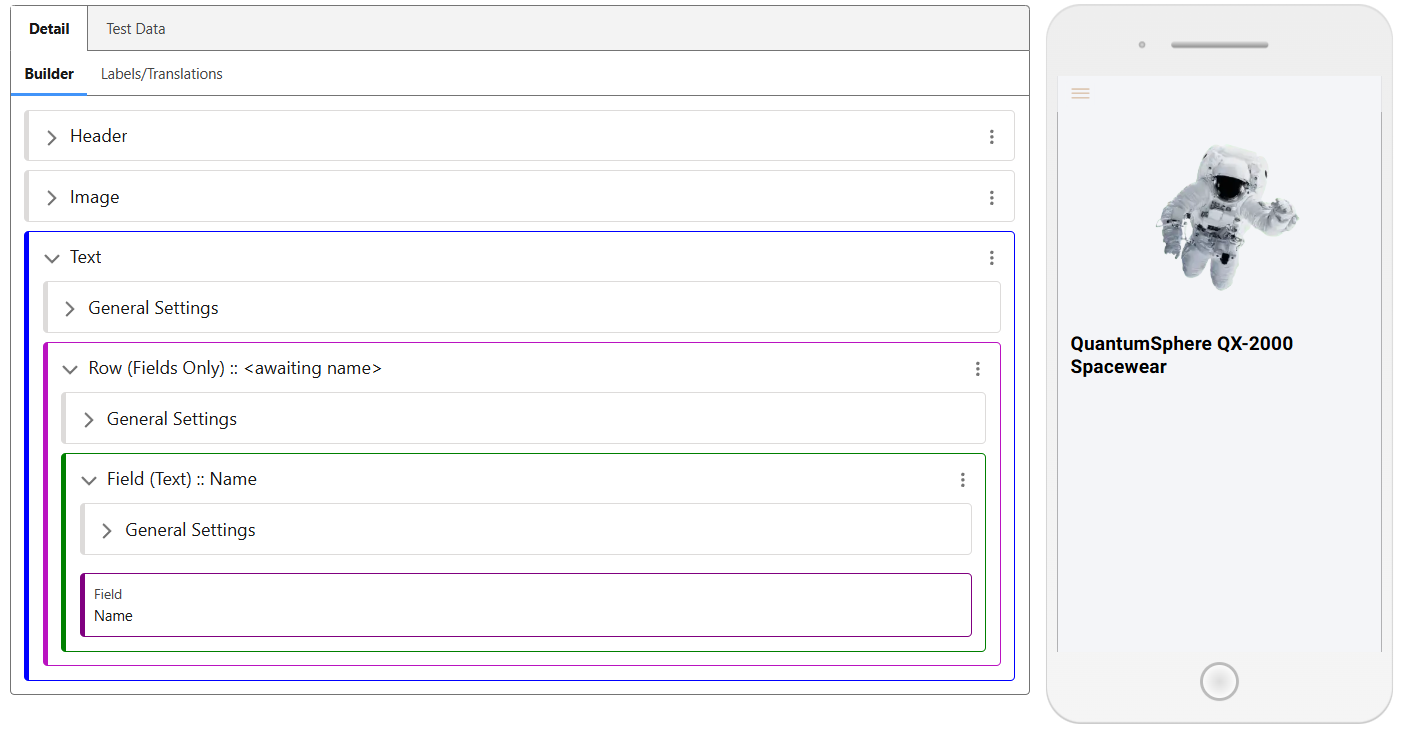
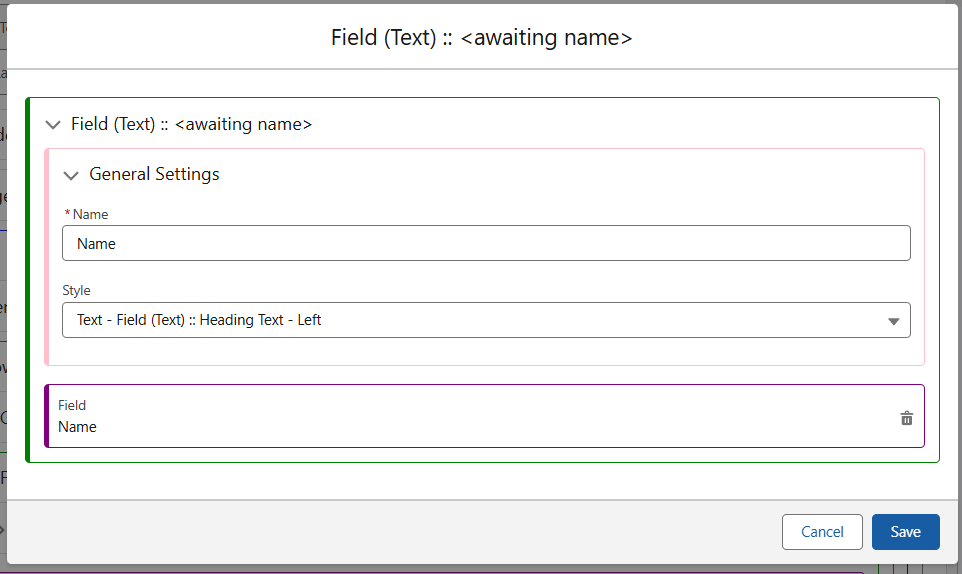
If swapped to Field Only, then when selecting the field you have the following options – Name, Style, and Field. Input each as required and hit Save.
Now, the screen should look something like the following. This can be repeated however many times necessary to surface the relevant fields, or to add your own custom text to the Collection Item screen.