Building and Styling your Book Tree
In your Book, the high level menu is referred to as the Tree. While the Style Guide deals with the styling of your content within articles, the rest must be handled by the Tree Styling class. First, let’s look at the supported elements of the Tree and how they fit together.
Building the Tree
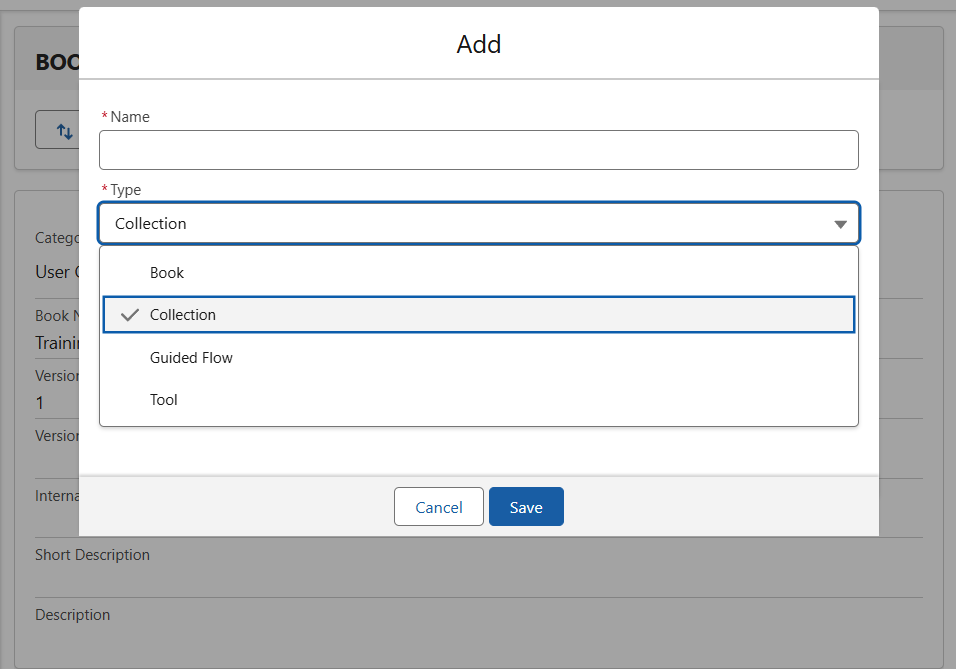
To build your Tree, open the Book Editor and add your items under the BOOK tab on the left hand side. Using the “+ Item” button here, you can add:
- Sections, such as Test Section 1, which house articles and can be sub-sectioned again as many times as necessary.
- Articles, which house the majority of the book content, combining text and image elements to digitise your manuals.
- Direct links to other pieces of content – collections, guided flows, or tools. These must be also configured in your Book Screen.
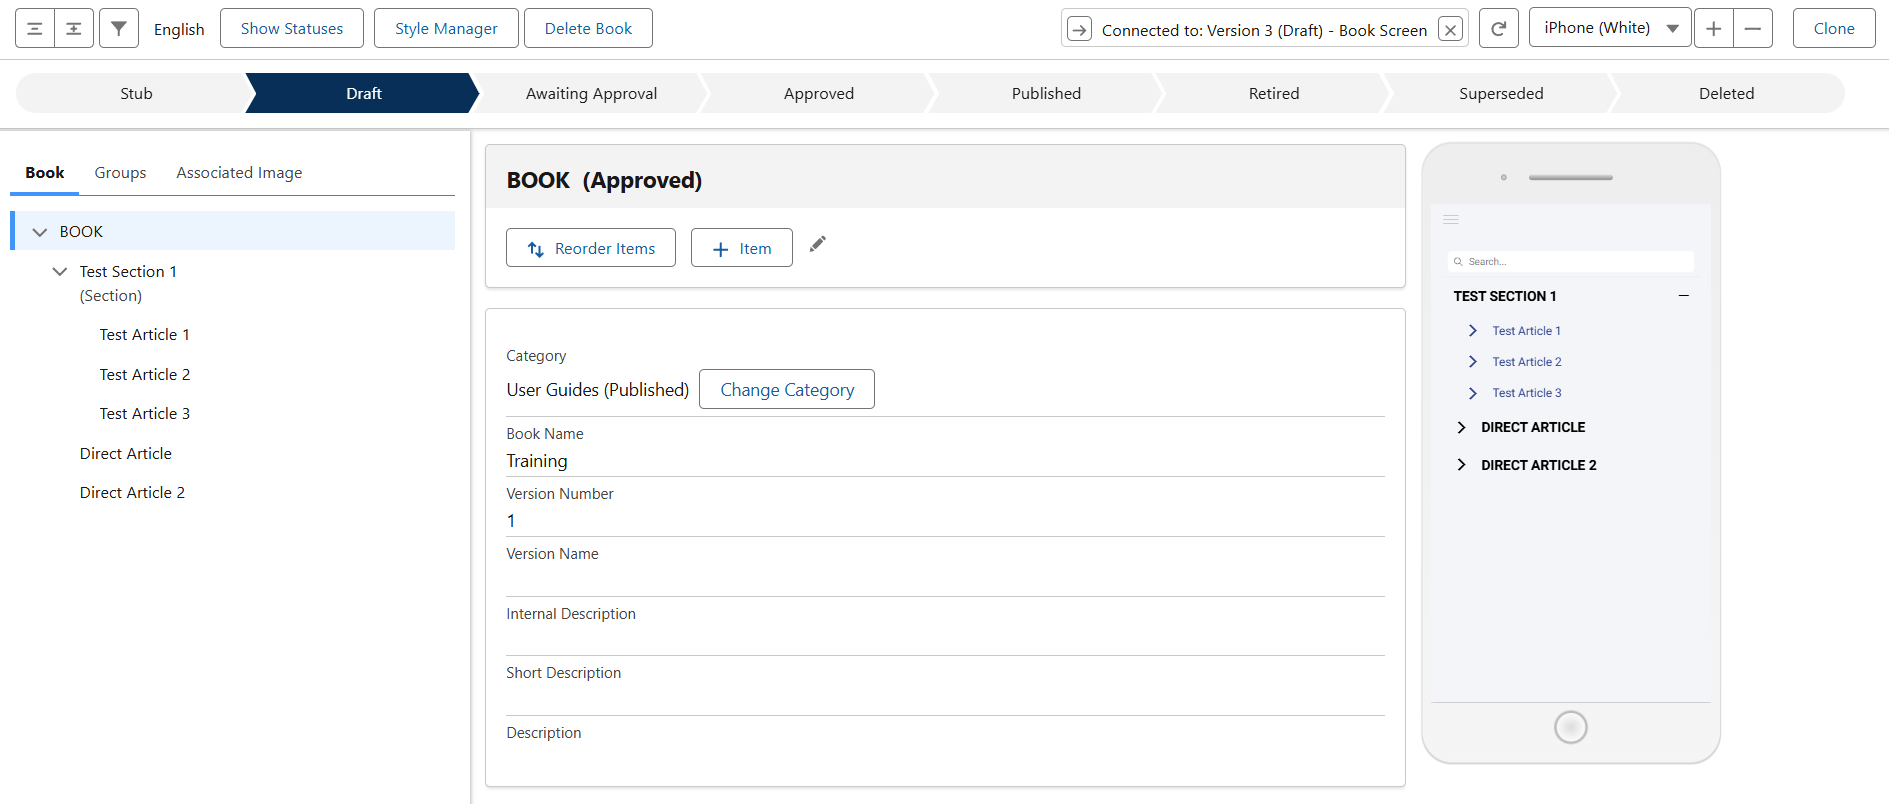
Direct can link straight to any Collection record, other Book, Guided Flow or Caddify Tools. They can only be added into the Tree Menu, and cannot be housed within Articles. The Content & Routing must be configured back in the Book Screen.
Styling your Tree
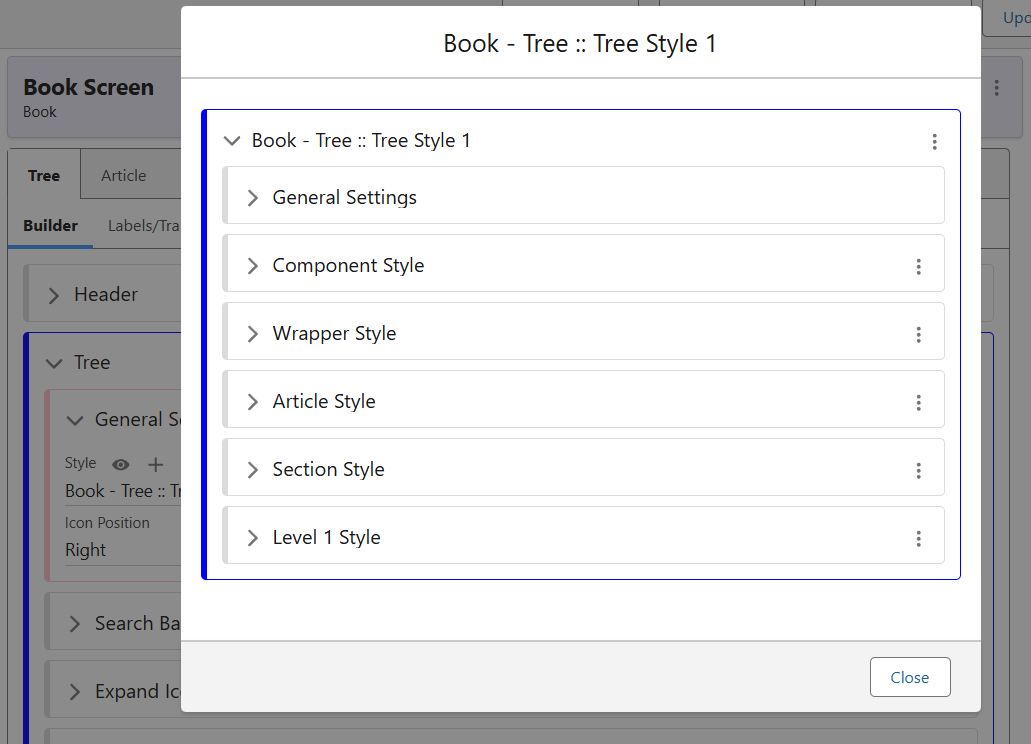
Back in the Book Screen, we can see the class that controls the Tree in the ‘Tree’ tab. Inside here are several elements to edit. Here is a quick breakdown of each.
- Component Style – can set a background colour for the overall tree, as well as its padding and margins settings to create space around it.
- Wrapper Style – has similar settings available applying to the wrapper around the component.
- Article Style – controls the formatting of the Article headings in your Tree. Here you can apply text formatting, fonts, colours, sizes and line spacing.
- Section Style – similar to Article Style, but for the section headings.
- Level 1 Style – again similar to the above, but controls the styling for the top level elements in the Tree.