Skip to content

Caddify

Cloud & Mobile Applications for end-user Product Support & Education

  • How it works
  • Inspiration
    • Showcase
    • Case Study
  • Pricing
  • Blog
  • Login
  • Resources
    • Quick Launch Plans
    • Success Plans
    • Customer Programmes
    • Podcast
    • Help Centre
    • MobileCaddy
  • Create My App
  • Help Centre
  • Reference
  • Components

Adding an Icon

  • Caddify Components
  • App Header
  • App Banner
  • Button Grids
    • Creating a Button Grid
    • Button Navigation
    • Styling the Button Grid
  • Lists
    • Creating a List Screen
    • Configuring the List Component
    • Adding an Image to a List
    • Adding Search to Lists
    • Adding an Extra Field to a List
  • Themes & Styling
    • Adding a Custom Colour
    • Adding an Icon
    • Adding a Custom Font
  • Text
    • Text Components
    • Text in Lists & Content Screens

On this page

  • Adding an Icon

In this article

  • Adding an Icon

Adding an Icon

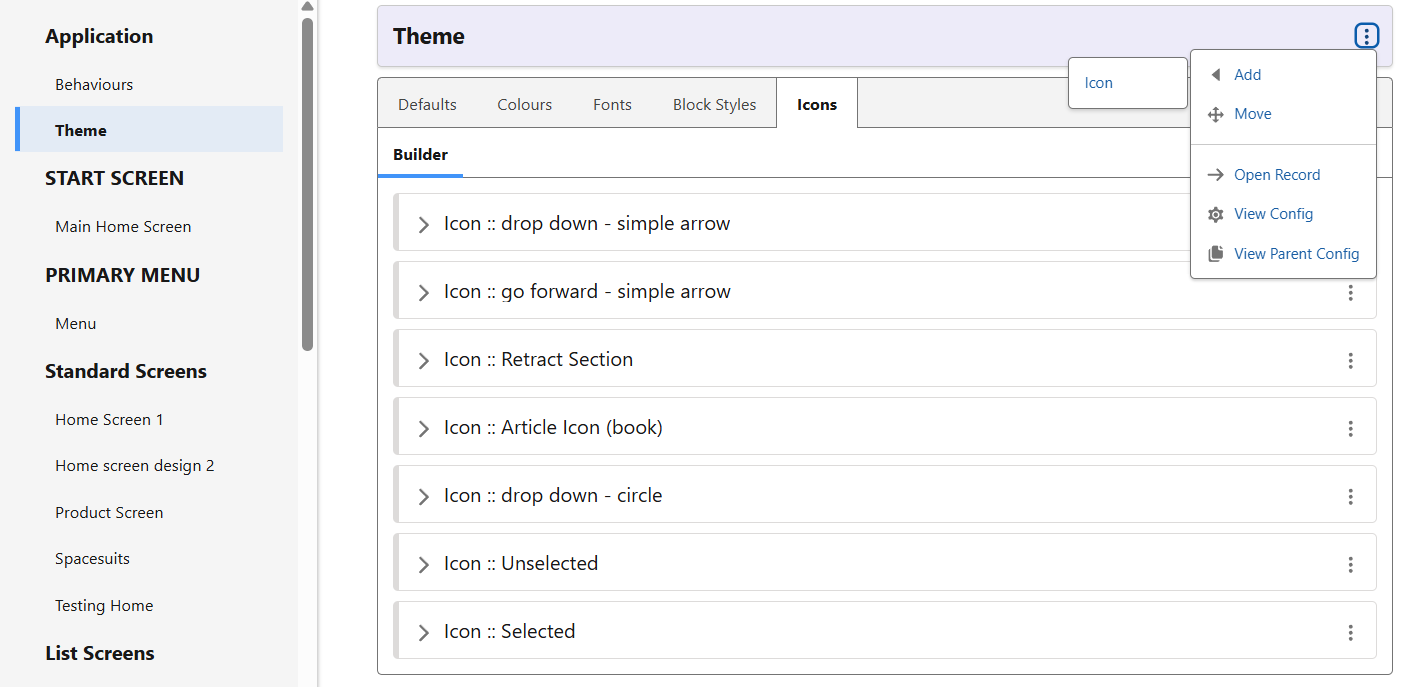
In the Theme section of the App Composer, navigate to the ‘Icons’ tab. Once the stub is created, edit the new Icon.

In the editing screen, the following box will appear. From here, you can select the Icon, as well as checking its formatting both in iOS and Android. Choose the icon you want to use in the app, name it and save it.

New to Caddify?

  • What is a Companion App platform?
  • What is Caddify?
  • How does Caddify work?
  • Video introduction series
  • Arrange a demo
  • Start free trial

Resources

  • Quick Launch Plans
  • Success Plans
  • Customer Programmes
  • Podcast
  • Pricing
  • Help Centre

Company

  • Blog
  • Privacy Policy
  • Terms of Use
  • Contact Us

Caddify

  • social-yt
© 2025 Caddify